
What You Need Before You Start
Here is what to have ready.
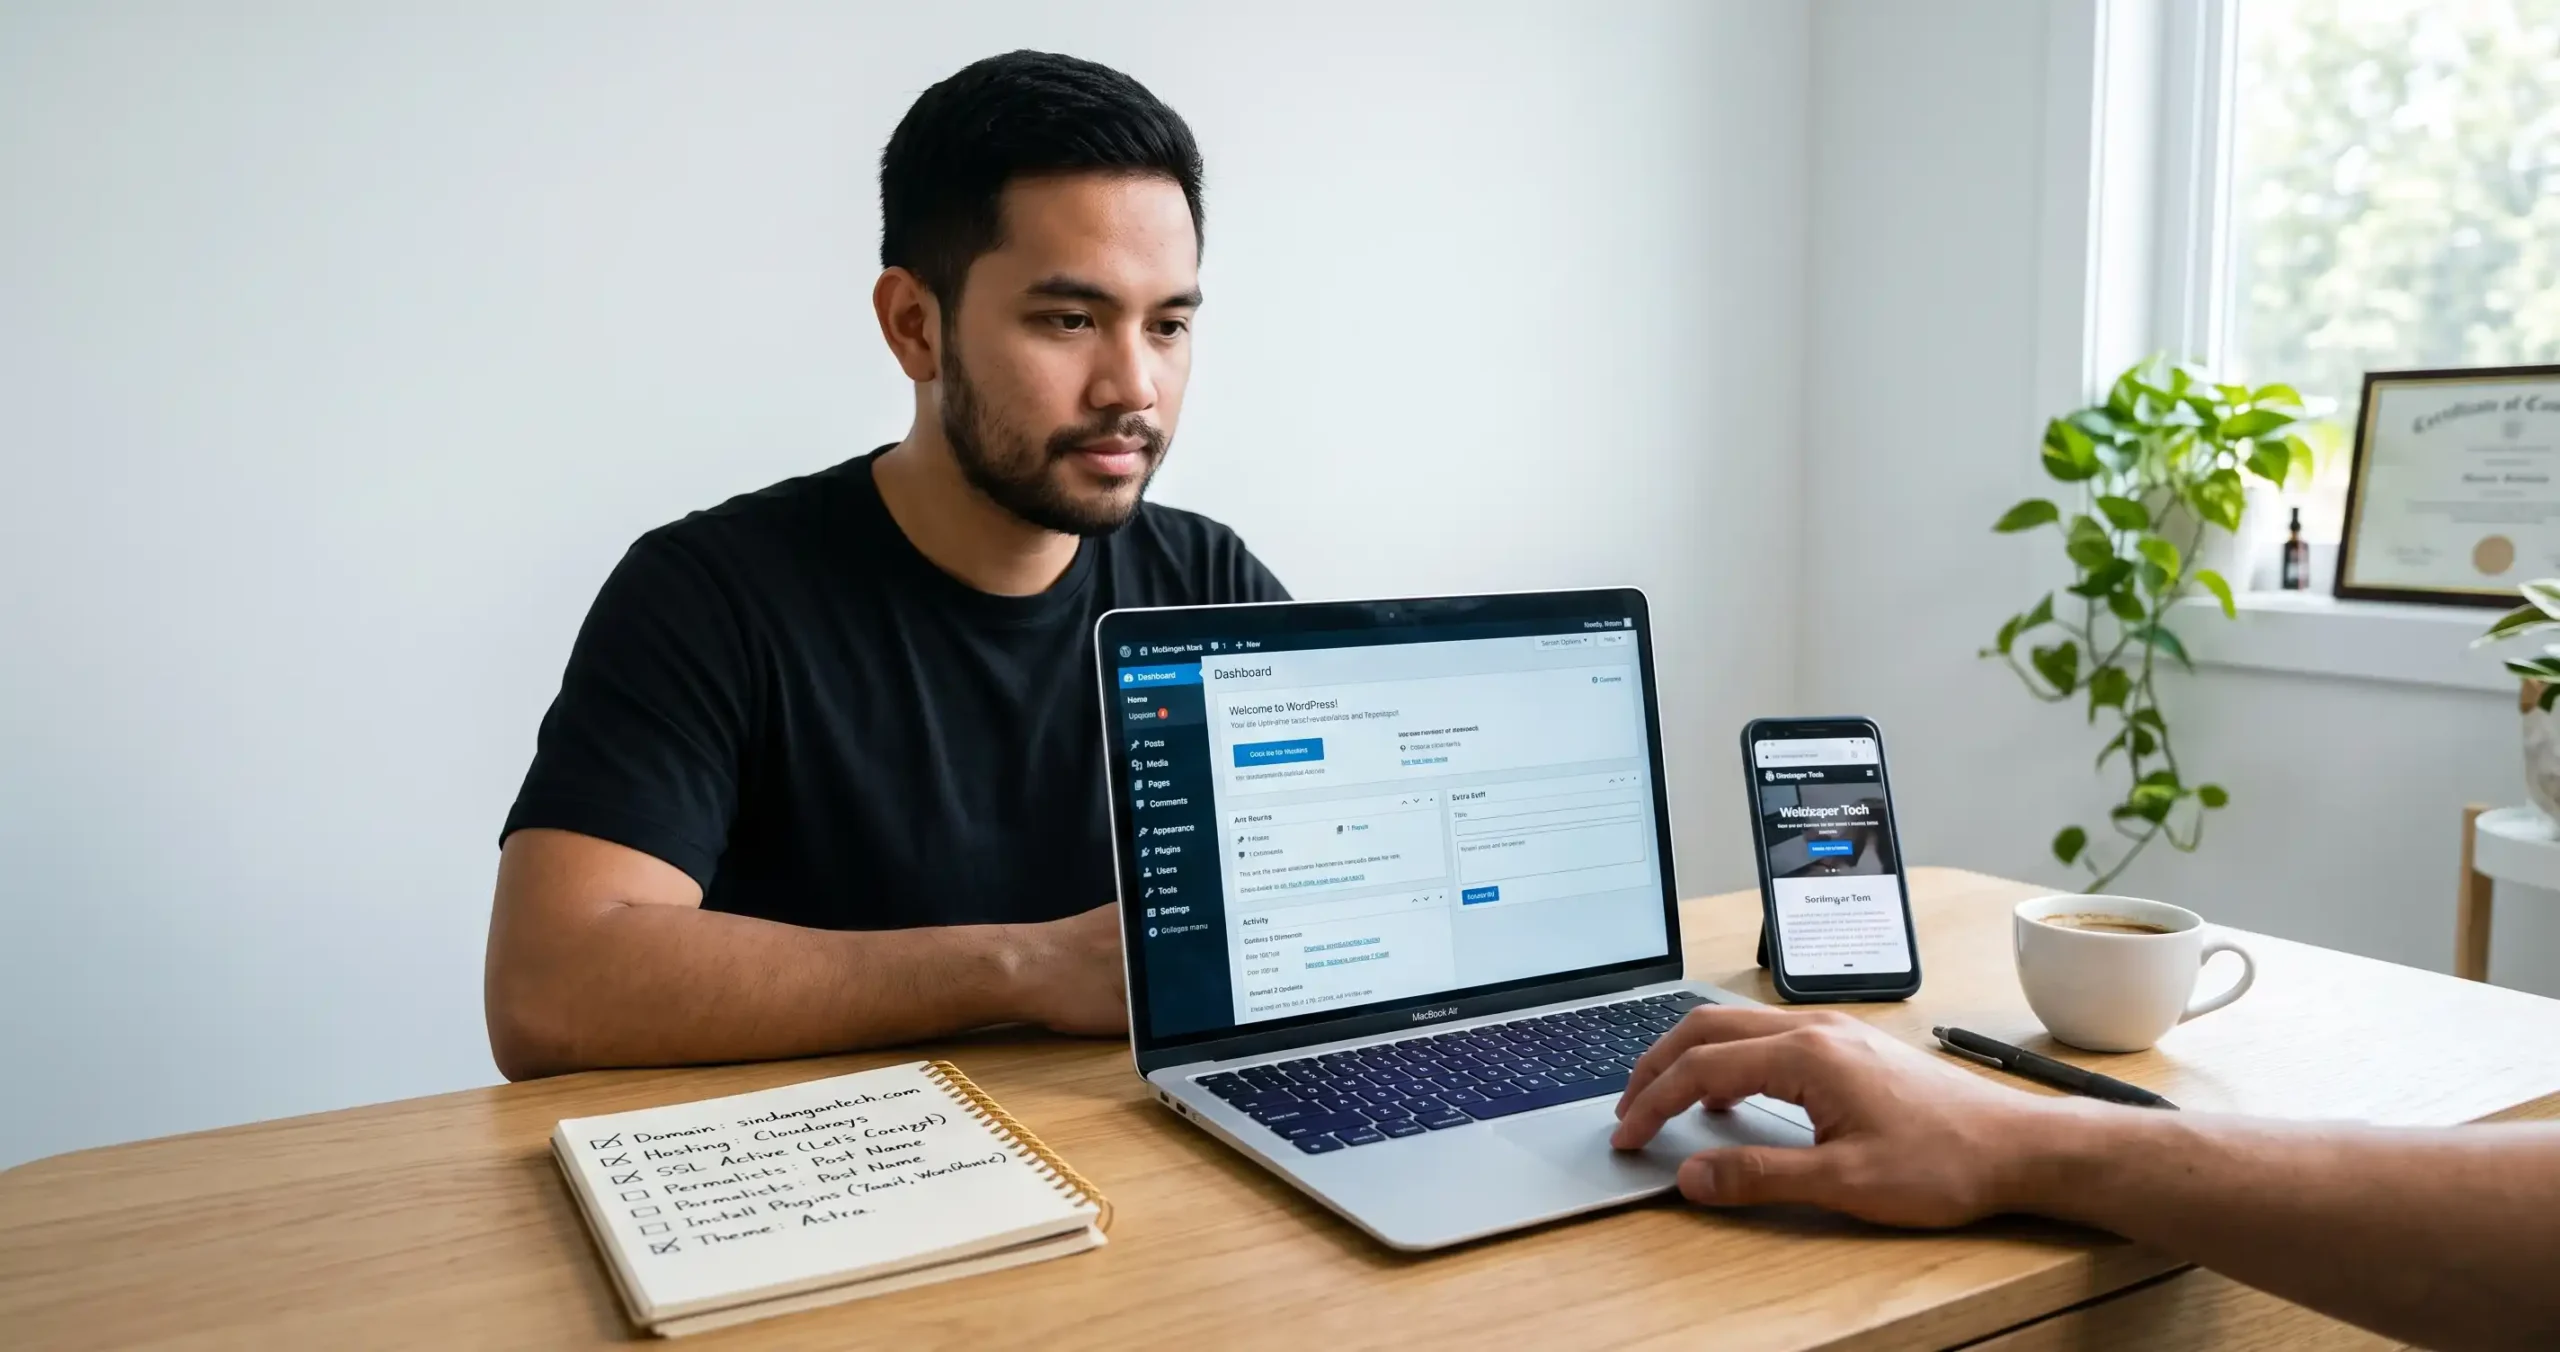
A domain name. This is your website’s address. Think of it as your digital storefront sign. It is what people type into a browser to find you.
Web hosting. This is where your website files live. Hosting companies rent you server space so your site stays online 24/7. If you are not sure which host to pick, I wrote a guide to web hosting for small businesses that compares the options.
About 30 minutes. Once you have your domain and hosting purchased, the actual WordPress setup takes half an hour. Most hosting providers include a one-click WordPress installer.
Step 1: Buy a Domain Name and Web Hosting
Picking a Domain Name
Your domain name is the first thing people notice. Keep it short, easy to spell, and tied to your business.
When I help a client choose a domain, I follow three rules. One, skip hyphens and numbers. They make the domain harder to say out loud and easier to mistype. Two, use your business name or a close variation. If your bakery is called Mountain Crust, try “mountaincrust.com“. Three, stick with “.com” unless you have a specific reason to use “.ph” or another extension.
Good examples:
- “baguiocoffeeroasters.com”
- “northluzonrealty.com”
- “judepudlao.com”
Bad examples:
- “best-baguio-web-design-2026.com”
- “mountain-crust-bakery-ph.com”
Use a domain registrar like Namecheap, Hostinger, or Google Domains to search availability. A standard “.com” domain costs roughly PHP 700 to PHP 1,200 per year.
Buying Web Hosting
Most hosting companies let you buy a domain and hosting together in one transaction. This is the path of least resistance. You make one purchase and the host connects everything for you.
When choosing a host, look for these three things:
- One-click WordPress installation. This saves you from manually downloading and uploading WordPress files.
- Free SSL certificate. This gives you the padlock icon in the browser bar. Google flags sites without SSL as “not secure.”
- Responsive customer support. Live chat that answers within a few minutes is ideal when something breaks at 11 PM.
Hostinger and SiteGround both offer these features and work well for first-time site owners. I use Hostinger for most client projects because their starter plans cost less and include a free domain for the first year.
After checkout, your hosting provider emails you login details for the hosting dashboard. Save these somewhere safe. You need them for the next step.
Step 2: Install WordPress and Configure Settings
Installing WordPress
Log into your hosting dashboard. Look for a button labeled “Install WordPress,” “WordPress Installer,” or “Auto Installer.” Most hosts place it on the home screen of the dashboard.
Click it. You will see a short form. Fill in the following:
- Domain: Select the domain you registered.
- Site Name: Enter your business name. You can change this later.
- Admin Username: Do not use “admin.” Add a number or another word. Simple usernames are easier for bots to guess.
- Admin Password: Use a strong password. Your hosting dashboard may generate one for you automatically.
- Admin Email: Use an email address you check regularly.
Click install. The process takes about two minutes. When it finishes, you will see a link to your WordPress admin panel at yourdomain.com/wp-admin.
Configuring Basic Settings
Log into your WordPress dashboard. Before doing anything else, adjust these four settings.
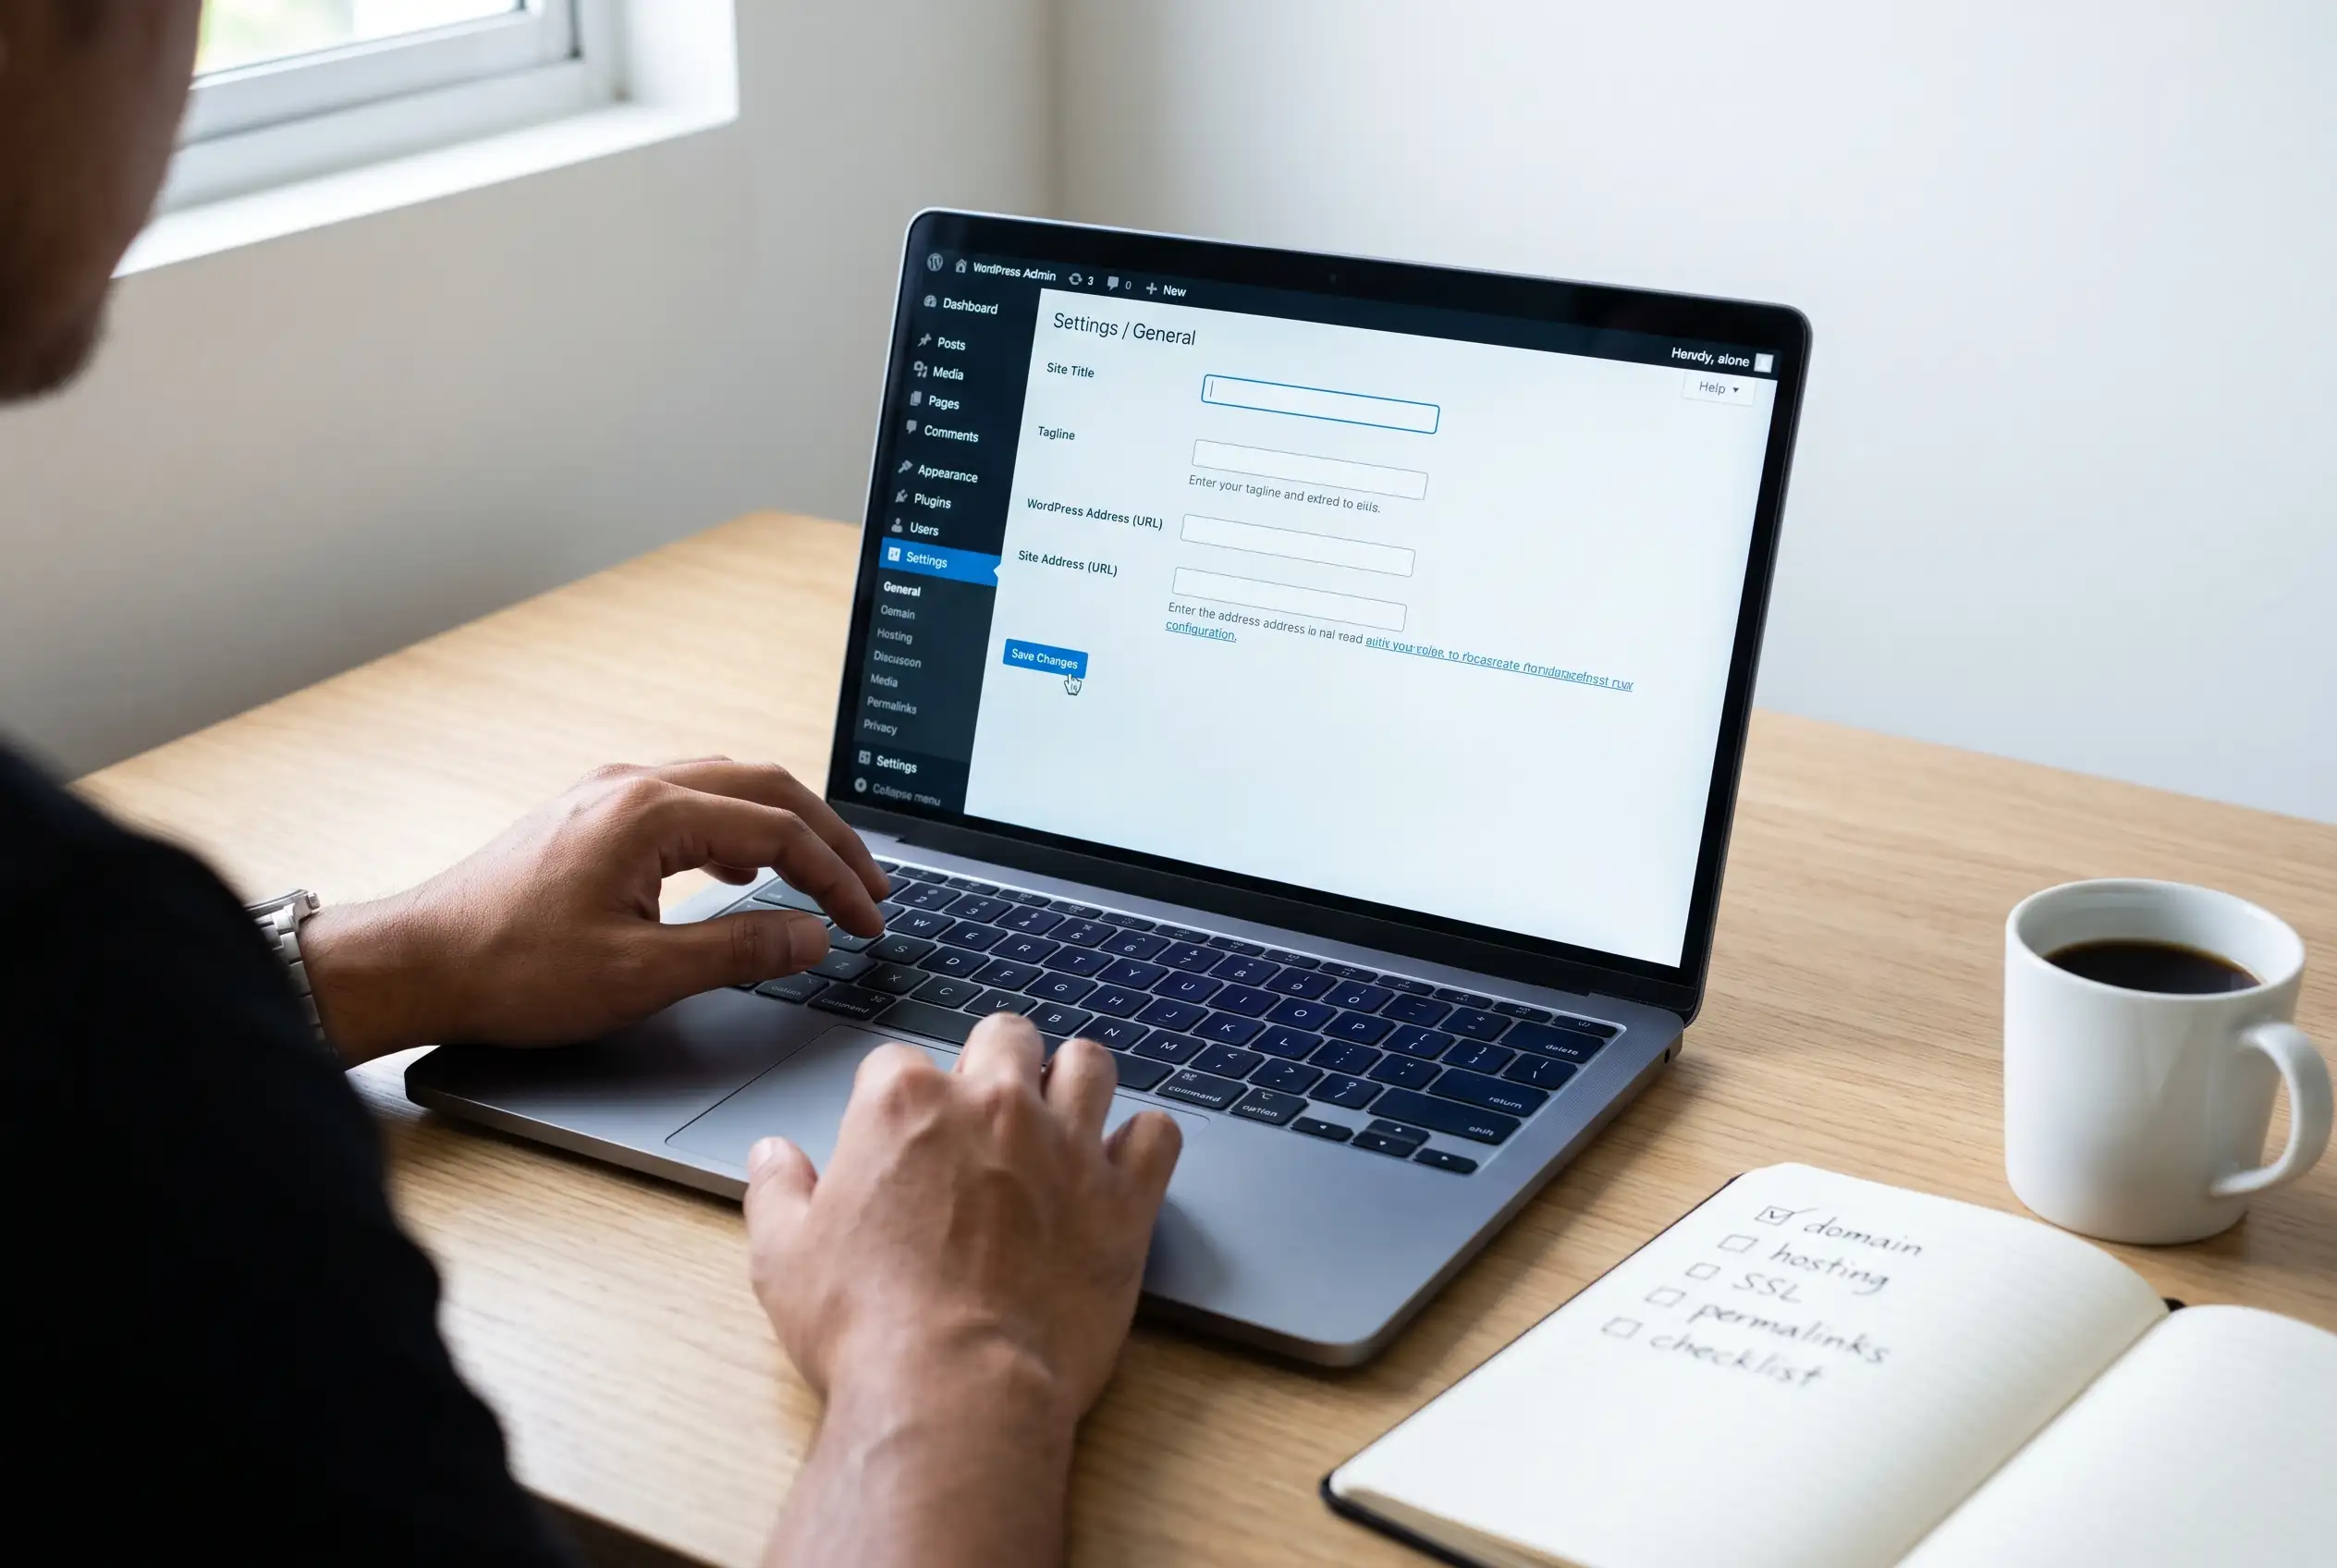
Go to Settings > General:
- Site Title: Your business name.
- Tagline: A short description of what you do, like “Baguio City Web Design Studio” or “Fresh Bread Baked Daily.“
- Timezone: Set to your local time. In the Philippines, select UTC+8 (Manila).
- Date Format: Choose any format. It only affects how dates display on your blog posts.
Go to Settings > Permalinks and select “Post name.“
This is important. It makes your URLs clean and readable. Instead of yourdomain.com/?p=123, each page gets a URL like yourdomain.com/about. Clean URLs help both visitors and search engines understand your site structure.
Finally, clean up the default content. Go to Posts > All Posts and delete “Hello World.” Go to Pages > All Pages and delete “Sample Page.” These are placeholders WordPress creates by default.
Step 3: Pick a Theme and Install Essential Plugins
Choosing a Theme
Your theme controls how your site looks. WordPress installs a default theme automatically, but you will want something that matches your brand.
Go to Appearance > Themes > Add New. Browse free themes or upload a premium theme you purchased elsewhere.
When I evaluate themes for client projects, I check four things:
- Mobile responsiveness. Open the theme demo on your phone. Does it read well? Does the menu work? If the demo looks broken on mobile, the theme is not worth your time.
- Speed. Run the theme demo URL through Google PageSpeed Insights. If the mobile score is below 70, move on.
- Update history. Scroll to the theme details and check “Last updated.” Anything older than six months is a risk. Outdated themes are a common entry point for hacks.
- Simplicity. Avoid themes that bundle a dozen plugins. Slider plugins, page builder plugins, form plugins bundled with a theme usually mean a bloated, slow site.
Kadence, Astra, and GeneratePress are three lightweight themes I install regularly. They are fast, mobile-friendly, and work with the native WordPress block editor. For most small business sites, the free version of any of these covers what you need.
After installing your theme, go to Appearance > Customize. Upload your logo, set your brand colors, and choose your fonts. Keep it simple. A white background, dark text, and one accent color reads cleaner than a busy design with five competing colors.
Installing Essential Plugins
Plugins add features to WordPress. There are over 60,000 free plugins available, but you only need four on day one. Do not install more than this until your site is live.
Go to Plugins > Add New, search for each plugin by name, and click “Install Now” then “Activate.“
Rank Math SEO. This is the SEO plugin I use on every site I build. It handles meta titles, descriptions, XML sitemaps, and schema markup from one interface. The free version covers everything a new site needs. Yoast SEO is the better-known alternative and works fine too. I prefer Rank Math because the setup wizard is faster and the interface groups related settings together instead of spreading them across separate tabs. All in One SEO is a third option with a simpler interface, but its free version does less than either Rank Math or Yoast.
Wordfence Security. This adds a firewall and malware scanner. It blocks brute-force login attempts and sends you an email if it detects anything suspicious. The free version is enough for a standard business site. Sucuri is a comparable alternative, but it is primarily a paid service with a limited free plugin.
UpdraftPlus. This handles backups. Set it to run automatic weekly backups and store the files on Google Drive or Dropbox. If a plugin update breaks something, you can restore your site with three clicks. Do not skip this. I have seen too many site owners lose content because they had no backup in place.
LiteSpeed Cache or WP Super Cache. A caching plugin makes your site faster by serving static copies of your pages. If your host uses LiteSpeed servers (Hostinger does), pick LiteSpeed Cache. Otherwise, WP Super Cache is a reliable free option.
Four plugins. That is all you need. Every additional plugin is another piece of software that requires updates and can conflict with other plugins.
Step 4: Create Your Pages and Go Live
The Four Pages Every Site Needs
Every business website needs at minimum these pages.
Home Page. This is your front door. Write a clear headline that says what you do. Add a short paragraph explaining your business. End with a call to action. For example, “Get a Free Quote,” “Browse Our Menu,” or “Book a Consultation.” Link that button to your contact page.
About Page. Tell visitors who you are and why you do what you do. Include a photo of yourself or your team. People connect with people, not logos. Three or four short paragraphs is plenty.
Contact Page. Put your email address, phone number, physical location if you have one, and a contact form. WordPress lets you add a form right inside the block editor. Click the “+” icon and search for “Form.” Customize the fields you need.
Blog Page. Even if you do not plan to publish articles yet, create this page. Go to Pages > Add New, title it “Blog,” and publish it. Then go to Settings > Reading, find “Posts page,” and select the Blog page you just created. This tells WordPress where to display future posts.
Using the Block Editor
WordPress uses a block editor called Gutenberg. Everything you add becomes a block, whether it is a paragraph, an image, a heading, or a button.
Here is how it works. Click the “+” icon to add a new block. Type “/heading” to add a heading. Type “/paragraph” for text. Type “/image” to upload a photo. Type “/button” for a call to action.
A few things I have learned from building client sites:
- Use Heading blocks (H2, H3) to structure your page. Each page gets one H1, which is the page title.
- Use the Columns block to put content side by side instead of stacking everything vertically.
- Use the Buttons block for every call to action. Styled buttons get more clicks than plain text links.
- Keep paragraphs short. Three sentences is a good maximum. Large text blocks scare readers away.
For images, use real photos of your business, your products, or yourself. A genuine photo of you on the About page works better than a stock image of a stranger at a desk.
Going Live
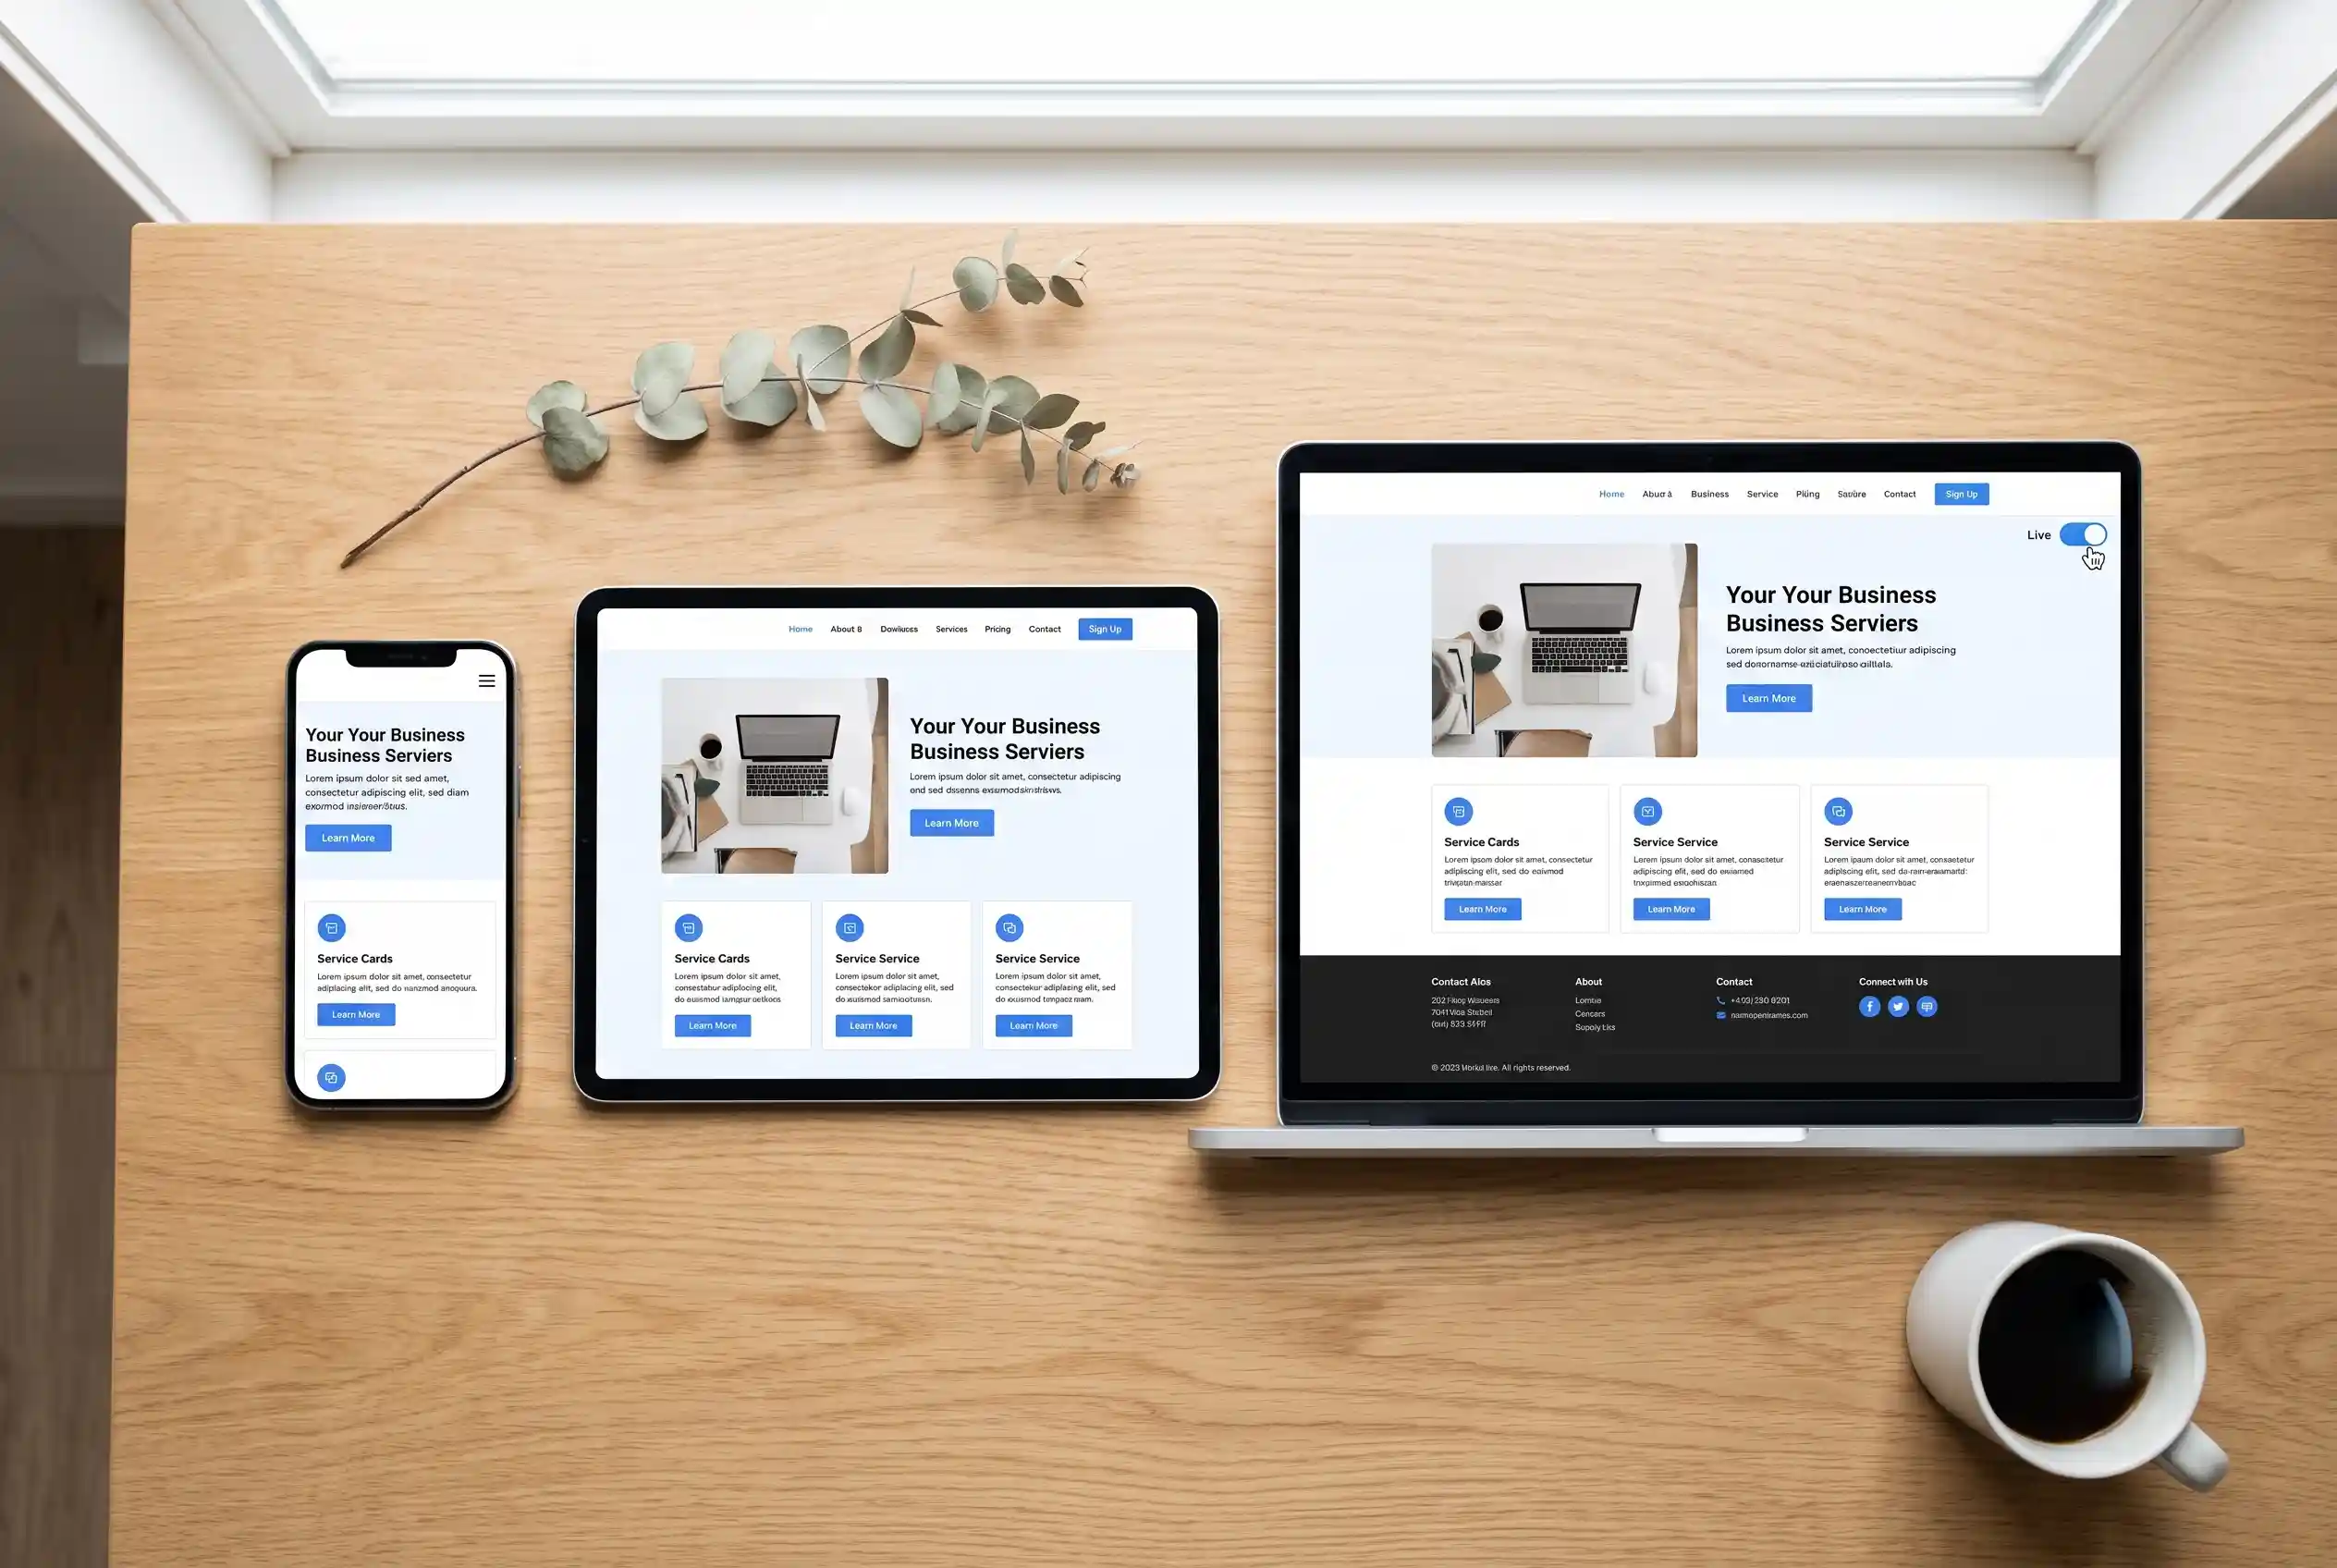
Preview every page before publishing. Click the “Preview” button in the top right corner of the editor. Open each page in a new browser tab and check:
- All text is correct. No spelling mistakes or placeholder content left behind.
- All links work and point to the right pages.
- Images load properly without distortion.
- The site looks clean and readable on your phone.
If your site shows a “Coming Soon” or “Under Construction” page, turn it off. Go to your hosting dashboard and look for a toggle labeled “Coming Soon Page” or “Site Visibility.” Switch it to “Live.“
Your site is now published.
What to Do After Publishing
Going live is step one. Here is what to handle in the first week.
Submit Your Site to Google
Google Search Console is a free tool that tells Google your site exists. Go to search.google.com/search-console and sign in with a Google account. Add your domain as a property and follow the verification steps.
After verification, submit your sitemap. If you installed Rank Math, your sitemap lives at “yourdomain.com/sitemap_index.xml”. Paste that URL into the Sitemaps section of Search Console.
Submitting a sitemap does not guarantee instant rankings. It helps Google discover your pages faster than waiting for a natural crawl, which can take days or weeks for a brand new site.
Basic SEO for Each Page
Go through every page and check these five things:
- Your page title includes your business name and location.
- Your meta description is one short sentence about what the page offers.
- The page has one H1 heading that matches the page title.
- Images have descriptive alt text. Instead of “IMG_4521.jpg,” write “Jude Pudlao web designer at desk in Baguio City.“
- URLs are clean and readable. “yourdomain.com/about” not “yourdomain.com/page-id-45″.
I have a complete guide on combining SEO and web design if you want to go deeper on any of these topics.
Weekly Maintenance
Set aside 15 minutes each week for these tasks. Log into your dashboard and:
- Install any available updates for WordPress core, your theme, and your plugins.
- Check that UpdraftPlus ran its weekly backup. Open the plugin and verify the last backup date.
- Run a Wordfence scan. It takes about a minute.
- Visit your site on your phone to confirm everything loads correctly.
WordPress is easy to launch but it needs regular attention. A site with six months of uninstalled updates is a security liability. Small businesses that neglect maintenance are the ones that get hacked, not the ones targeted specifically.
If you would rather have a professional handle ongoing updates, security monitoring, and backups, explore my web design and development services. Every project includes a maintenance plan tailored to your site.